“Hey Google, Do My Brows”
Filed in Beauty — November 13, 2018
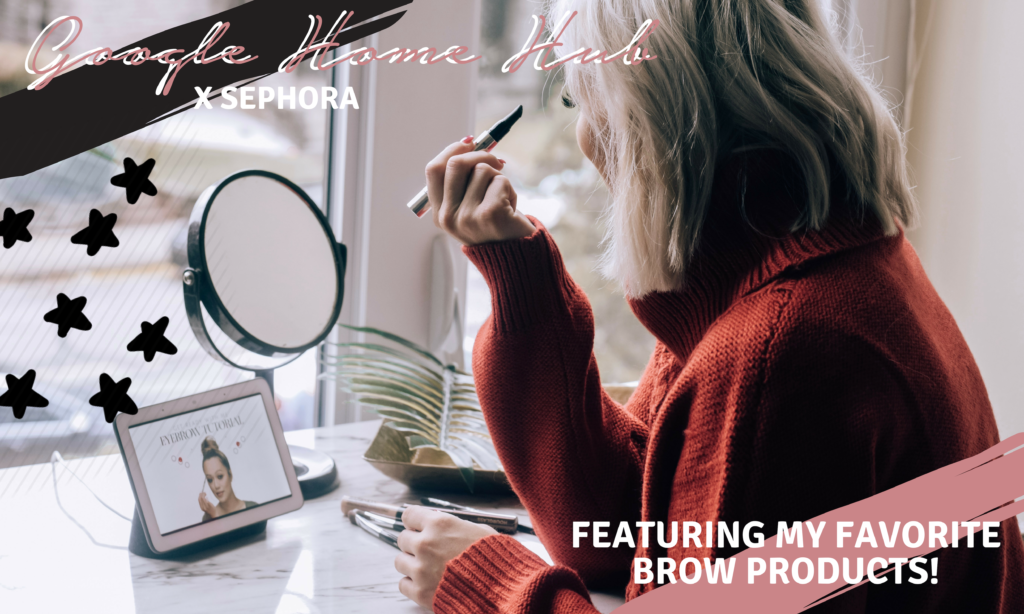
Have you ever not thought that you needed something in your life until it’s actually in your life? Yeah.. Thats how I feel about Google Home and I’m positive Jamie agrees. Google Home sets our alarms, tells us the weather and most usefully, plays any song or video we want off of YouTube with the simple words, “Hey Google, play _____.” It’s seriously THE BEST! Especially for lazy girls like me, hehe.
I wanted to put this post out for a few reasons. 1) I wanted to share brow products that I’m loving right now. 2) I wanted to talk about how much I really love our Google Home, just in time for the holidays. You know, incase you need a gift idea!
Now, let’s talk brows. My eyebrows and I have had a very long journey. We used to not be friends, but then Karri from Dallas Beauty Lounge came along and slayed my microblading (blog post to come on this). A lot of people ask me, “Do you still need to do your brows if you’ve had them microbladed?” I believe that the answer depends on your preference. Because I’m a fan of dramatic brows, I like to darken mine up + shape them some more with product but again, your choice.
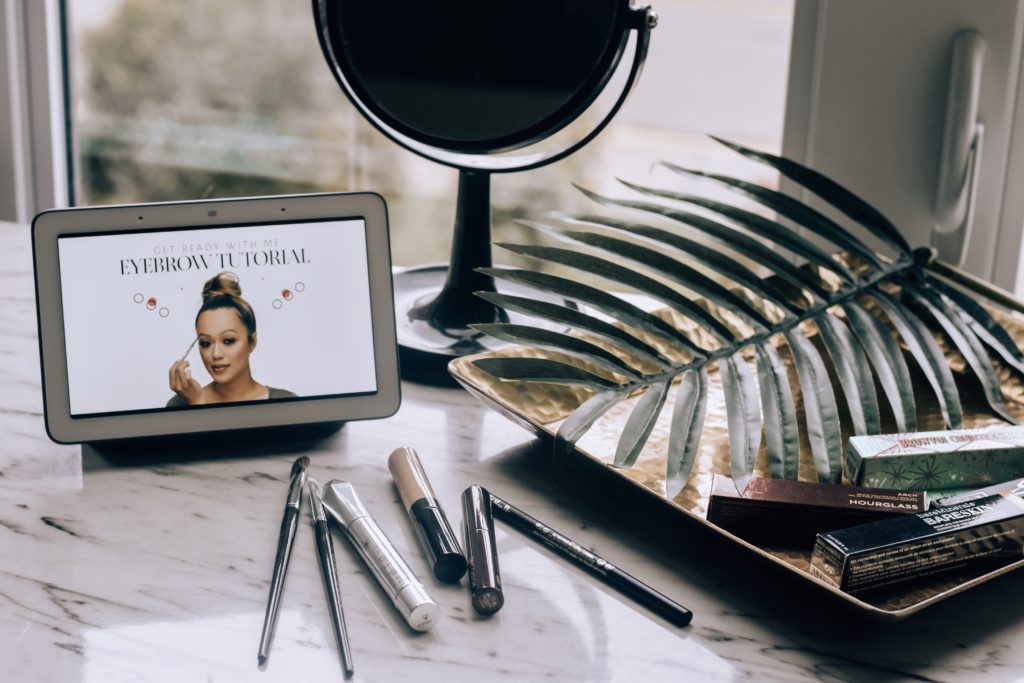
Okay so first things first, I could not do my brows without Sephoras PRO Brow Brush #20. This brush is THE BOMB and 110% worth the $18 (linked below). Mine doesn’t come with the comb, but it’s cool that the newer versions do. Also, I’ve had mine for like 2+ years and it still has it’s shape.
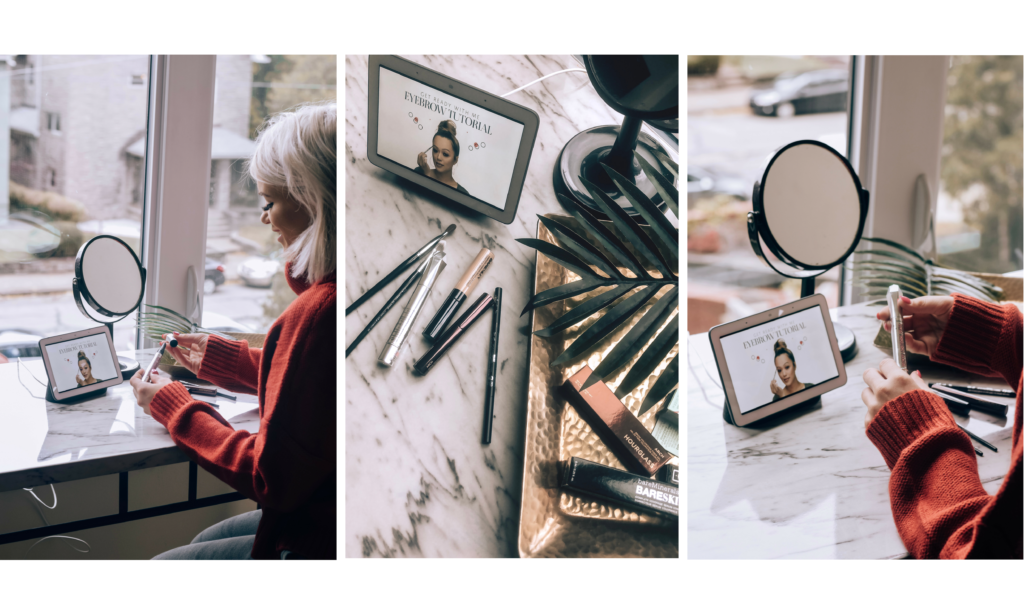
Okay, rewind. To prep my brows, I like to first use the BROWVO! conditioning eyebrow primer (also linked below – actually everything will be linked below so just check it out down there). I use this because I have longer brow hairs, so this stuff really helps put them in place and keep them there. Next, I comb through my brows with the NYX Tinted brow mascara. This stuff also helps put them in place, plus it’s only $7! Okay so once that all dries, I go in with my #20 brush and the Anastasia Beverly Hills Brow Powder Duo (usually the darker color). I start at the bottom of my entire brow and make a line for where I want my brow to end, I then do the same with the top and finally I fill the middle to end of my brow in with the powder (because I like a dramatic look). If it’s looking a little too bold, use the comb to blend out the powder a bit.
Next up, we work on the inner part of the brow. We want this area to look a little more faded and natural, so I prefer to use a pencil. I recommend the Anastasia Brow Wiz or the Signature Brow Precision Pencil by Kat Von D. I use either of these to draw on tiny stroke like hairs. I then blend a little bit with the #20 brush. Lastly, I use the Bare Minerals Concealer or my all time favorite, Tarte Shape Tape to go over the outside of the brow, for that little extra pop!
And that’s it! If you’re feeling a little spicy, go ahead and add some highlighter to your brow bone.
I hope this helped you and your brows! As always, feel free to reach out if you have any questions or if you’d like a video tutorial.
Shop this Post!


Photographer: Lauren Barber
© 2024 KELCLIGHT